

|
|
 |
 |
|||
|
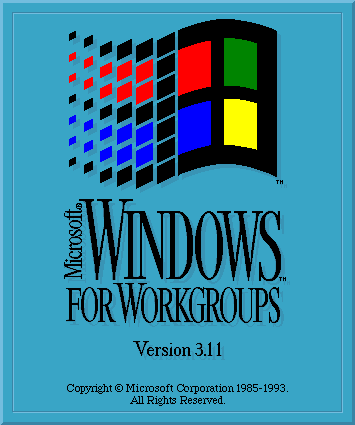
Changing the WFWG 3.11 Splash Screen
Summary: Those of you familiar with Windows 3.x have probably long since gotten tired of the rather boring (by today's standards, anyway) splash screen that it puts up as it loads. You can change that splash screen, but doing so is a less than obvious task. This post walks you through the steps needed to accomplish the installation of a new Win3x splash screen. Post Body: Windows 3.1 debuted in 1992 and we have been looking at the same tired old Win 3.x splash screen ever since. There is nothing wrong with it; it is just ... tired at this point. More than one person has thought to update the splash screen, only to be stopped quickly by the seeming complexity of the undertaking. This complexity stems from the fact that the splash screen image is required to be in the fairly obscure Windows RLE-BMP ("RLE") format AND that image is embedded into the win.com executable. BOTH of these present challenges to those wishing to change the splash screen.  Happily, with the right tools, changing the splash screen is not THAT complicated. It is not a "brain dead simple" task, but it is quite doable for a motivated user. At a high level, the below are the major steps of the process. First, gather what you need:
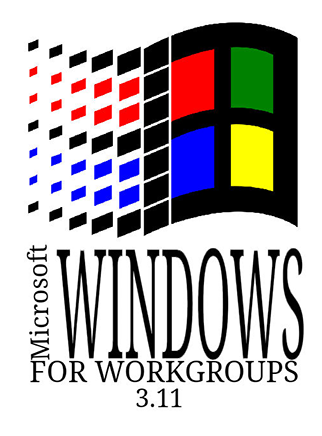
Here are the details of each step: Step "Zero": Before we start steps 1-4 above, select an image you would like to use as the splash screen. In my case, I really didn't like the teal colored background that the native splash screen uses, so I selected one that was similar, but with a white background:  Step One: Open the image you have selected in step "zero" and use LViewPro (or any other competent image viewer/editor) to resize the image to roughly 440x330. Save the result as a Windows BMP. This BMP will typically be 24-bit or 16-bit color, and because it is a BMP, it may be quite large. The size of the file is not important at this point, but the image dimensions are. Do not exceed dimensions of approximately 440x330 (particularly the 440 part of that) or your image may not display properly and Windows may even fail to boot. In my case, I did the resizing with Photoshop 4.0, which is installed in my DOS/Win environment, but there is no dependency on this particular tool - it was just there and very definitely "competent". LView Pro and IrfanView (both available in the Win3.x archive of this site) will do an equally excellent job of size reducing and saving as a BMP. Step Two: From DOS, use Graphics Workshop (GWS) to convert your BMP file to a 4-bit, 16-color Windows RLE file. GWS is the "secret sauce" of this approach. Very few other tools are able to convert BMP to 4-bit RLE. To do this, start GWS (I used v6.1, which is what is available on this site) and navigate to the image of interest. Select it, but don't open it (in the presented file list, move the cursor down to the file of interest, but don't press Enter). Press F9 (for "Effects"). From the menu that presents, select "Color Reduction". From the menu that presents, select "Remap". From the menu that presents, select "Windows 16 Colors" and finally, from the menu that presents, select "RLE (Windows 3)". At this point, GWS writes your size-reduced, color-reduced RLE image out, with "x_" prepended to the filename and the extention changed from "BMP" to "RLE". Once it is done, quit GWS. Now for a critically important checkpoint: the RLE file that has been created must be less than approximately 44KB. If it is not, repeat the above until it is, making changes as necessary (usually progressively reducing the dimensions of the RLE image does the trick). Do not proceed to the next step until your RLE file is less than 44KB, or very close to that. Step Three: Use Windows Setup (setup.exe) from the DOS environment to install your new RLE. The method is indirect, and not obvious, but it works well. Here are its steps:
Thats it! |
|
|
|